
Table of Contents
- Pre-Flight Inspection: Documentation and Airworthiness
- Engine and Systems Verification Before Takeoff
- Control Surface Movement and Flight Control Integrity
- High-Speed Taxi and Ground Testing Procedures
- Post-Maintenance Test Flight Checklist and Verification
- How to Document Aircraft Squawks and Functional Issues
- Aircraft Functional Check Flight Procedures and Avionics Validation
- Test Pilot Qualifications, Currency, and Safety Protocols
Last Updated: August 28, 2026
Pre-Flight Inspection: Documentation and Airworthiness
Before your aircraft leaves the ground, the paperwork must be in order. A test flight without proper documentation isn't just risky, it's illegal. The FAA requires specific documentation to be on board and current before any flight (faa.gov).
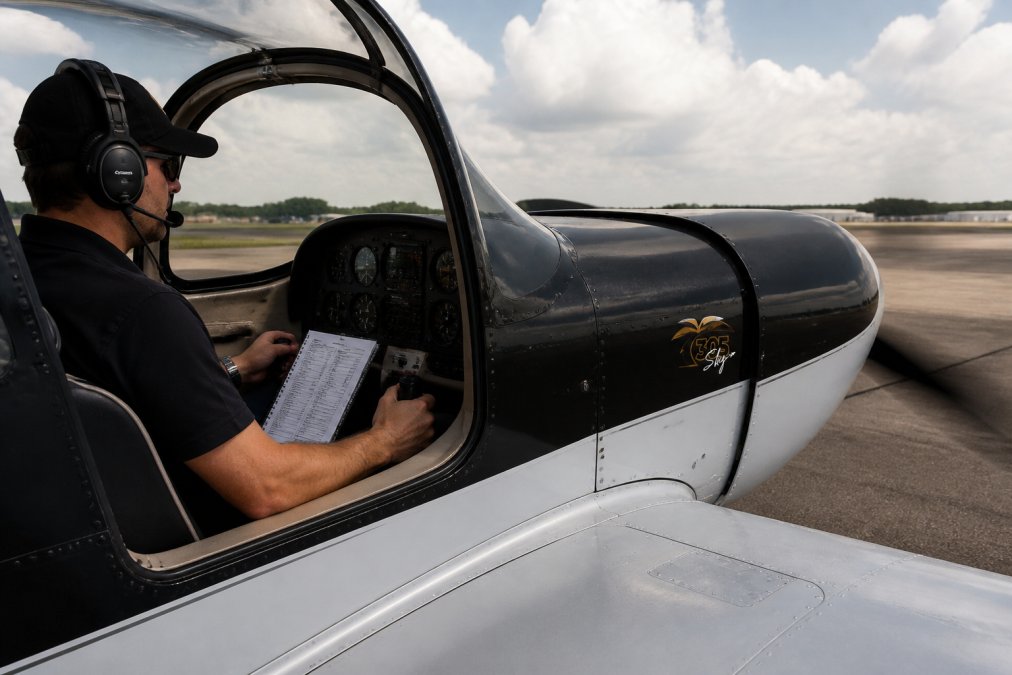
ARROW Documentation Requirements
ARROW is the acronym every aircraft owner needs to memorize: Airworthiness certificate, Registration certificate, Radio station license, and Operating limitations. The W stands for weight and balance documentation. These four items must be aboard your aircraft before the first test flight begins.
The airworthiness certificate proves your aircraft meets design and construction standards. For homebuilt or experimental aircraft, this is your special airworthiness certificate. The registration certificate establishes legal ownership and must match the tail number on your fuselage. The radio station license permits your aircraft to transmit on designated frequencies. Operating limitations define what your aircraft can and cannot do, altitude limits, speed restrictions, and any special conditions imposed during certification.
Missing even one of these documents means your test flight doesn't happen. The FAA doesn't negotiate on this point.
Airworthiness Certificate and Registration
Your airworthiness certificate is the legal foundation of your flight. For experimental or homebuilt aircraft, this special airworthiness certificate comes with specific restrictions and conditions that define your flight envelope during the test phase.
The registration certificate must match your aircraft's tail number exactly. Any discrepancy between the registration, the tail number painted on your fuselage, and the aircraft identification plate inside the cockpit will ground you. Both documents must be current; an expired airworthiness certificate or registration certificate prevents flight operations.
Keep these documents in a waterproof folder accessible to the pilot during flight.
Engine and Systems Verification Before Takeoff
The engine is your aircraft's heartbeat. Before you advance the throttle, you need a baseline understanding of how your engine performs at rest.
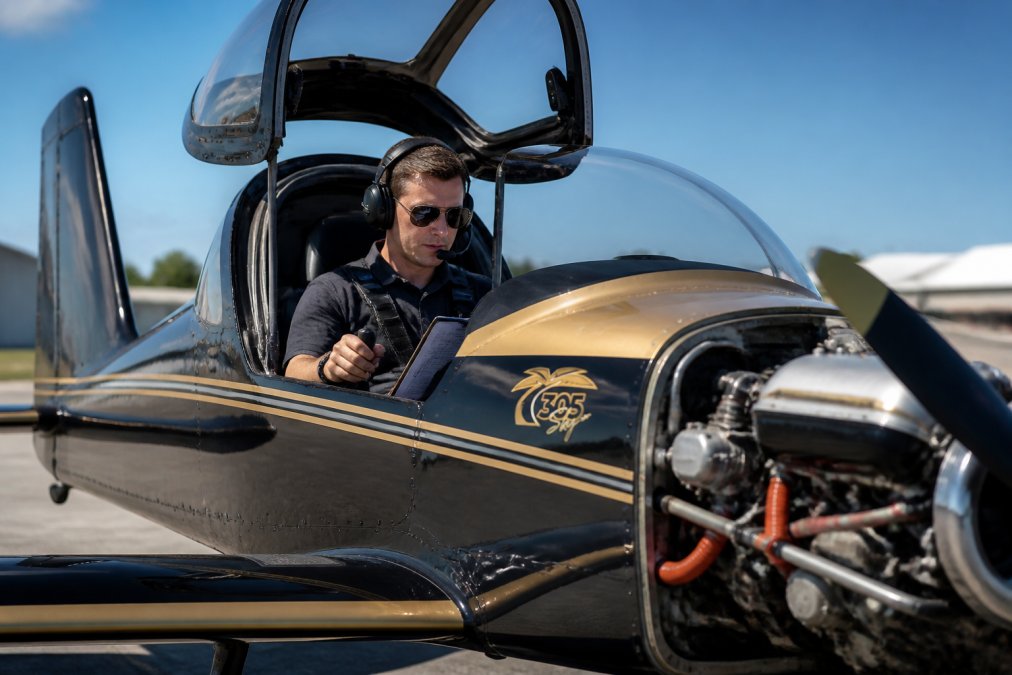
Static Engine Run and Performance Baseline
The static engine run is your first real test. With the aircraft tied down securely, start the engine and observe its behavior at idle, then at various power settings up to full throttle, without moving the aircraft.
Listen for abnormal sounds: rough running, backfiring, or unusual vibrations. Check your engine instruments: oil pressure, cylinder head temperature, fuel pressure, and ammeter output. Write down the readings at each power setting as your reference baseline.
Verify that your magnetos operate correctly by switching to each mag individually and confirming that engine RPM doesn't drop more than expected and that the differential between left and right mags stays within limits (faa.gov). A large differential or excessive RPM drop signals a problem needing attention before flight.
Fuel System, Landing Gear, and Hydraulic Check
Check fuel quantity visually in each tank; don't rely on gauges alone. Drain sumps at the lowest point of each tank to catch any water or sediment. Verify fuel flow to the engine by observing fuel pressure gauge response as you cycle the fuel selector. If you have multiple fuel tanks, confirm that the selector valve moves smoothly and the engine runs smoothly during tank changes.
Landing gear operation requires careful observation. Cycle the gear through its full range multiple times while stationary. Watch for smooth, consistent operation and listen for unusual noises. If your gear has position indicators, confirm they change correctly as the gear moves.
Check hydraulic fluid level and condition. Cycle any hydraulic-operated components, flaps, gear, brakes, and confirm smooth, responsive operation. Look for leaks around cylinders and hoses.
Control Surface Movement and Flight Control Integrity
Your control surfaces are the communication link between pilot input and aircraft response. A test flight that begins with compromised control surfaces shouldn't happen.
Detecting Flight Control Wipeout and Binding
Flight control wipeout occurs when a control surface moves beyond its designed range, striking the fuselage or other components. This causes sudden, catastrophic loss of that control surface's effectiveness.
Manually move each control surface through its full range while observing from outside the aircraft. Watch for binding, resistance, or sticking that suggests interference. Control surfaces should move smoothly without grinding or scraping sounds.
Check control surface attachment points. Hinges, brackets, and fasteners must be secure and undamaged. Inspect the control cables or push rods for corrosion, kinks, or damage. Verify that control surfaces return to neutral without assistance; a control surface that doesn't center properly indicates rigging issues or cable tension problems requiring correction before flight.
High-Speed Taxi and Ground Testing Procedures
The high-speed taxi is the bridge between static ground testing and actual flight. Perform it on a runway long enough to accommodate full-length acceleration and deceleration without reaching takeoff speed. Accelerate to 50-70% of your expected takeoff speed.
During the high-speed taxi, feel for unusual vibrations or control response. The aircraft should track straight without excessive rudder input. Aileron and elevator response should feel proportional to control input. Any unusual behavior, a wing dropping, heavy control feel, or unexpected vibration, means you return to the parking area and investigate before proceeding.
Check your braking system during the high-speed taxi. Brake response should be immediate and balanced. If one brake feels soft or unresponsive, stop and correct the problem.
Post-Maintenance Test Flight Checklist and Verification
After maintenance work, a post-maintenance test flight confirms that repairs were completed correctly and that no new problems were introduced.
Flight Envelope Expansion and Performance Validation
Your test flight plan should include gradual expansion of the flight envelope. Start with a local area flight at low altitude, 500 to 1,000 feet above ground level, to verify basic aircraft handling and systems function. Climb gradually to a comfortable altitude, monitoring engine instruments and control response continuously. If anything feels abnormal, return to the airport immediately.
Once confident in basic handling, explore the aircraft's performance envelope more thoroughly. Climb to higher altitudes, test various power settings, and evaluate handling characteristics across the speed range. Document everything: engine temperatures at cruise, fuel consumption, climb rate, and any anomalies.
Performance validation is about understanding your aircraft's actual capabilities and limitations, not pushing limits.
How to Document Aircraft Squawks and Functional Issues
Every observation during your test flight must be documented. Squawk documentation creates the record that guides future maintenance and helps identify patterns.
Recording Findings for Maintenance and Compliance
Use a structured squawk form or logbook entry that captures essential information: what you observed, under what conditions, and how consistently it occurred. Vague notes are useless; specific notes like "engine RPM fluctuated 200 RPM at 75% power, smoothed out at 65% power" guide maintenance troubleshooting.
Record the flight date, time, aircraft tail number, pilot name, and flight duration. Include ambient conditions: temperature, wind, barometric pressure. For each squawk, describe the issue clearly, note when it occurred, and estimate its severity. Include any corrective actions you took and the results.
Aircraft Functional Check Flight Procedures and Avionics Validation
A functional check flight verifies that all aircraft systems work as designed, including avionics, autopilot, navigation systems, and emergency equipment.
Testing Avionics Suite and Emergency Systems
Test communication radios on the ground first, using ATIS or ground control. Verify that you can transmit and receive clearly. Once airborne, test navigation systems. Confirm that your GPS receiver acquires satellites and displays accurate position. Verify that your VOR receiver tracks properly if equipped.
Autopilot testing requires careful attention. Engage autopilot at a safe altitude with plenty of airspace around you. Verify that it captures and maintains your selected altitude and heading. Always be prepared to disengage and hand-fly the aircraft immediately if anything feels wrong.
Verify that your emergency locator transmitter (ELT) can be armed and its battery is current. Test your emergency oxygen system if equipped. Confirm that emergency equipment is accessible and functional.
Test Pilot Qualifications, Currency, and Safety Protocols
Not every pilot is qualified to conduct a test flight. The pilot matters as much as the aircraft.
Pilot Currency and Type-Specific Experience Requirements
Your test pilot must be current, meaning they've flown at least three takeoffs and landings in the same aircraft category within the past 90 days (faa.gov). An instrument rating is strongly recommended for test flights, even if the flight plan includes only visual flight rules conditions.
Type-specific experience is equally important. A pilot with 3,000 hours in Cessna 172s may not be the right choice to test fly an experimental taildragger or high-performance retractable-gear aircraft. Many test pilots pursue formal test pilot training through established programs, covering test flight procedures, data collection, risk management, and emergency procedures specific to test operations.
Establish a clear go/no-go decision point before flight. Define which systems or behaviors would cause you to return to the airport immediately. Plan your flight route to keep you near the airport during the initial test phase. File a flight plan so that search and rescue knows your intended route. Carry emergency equipment and know where the nearest suitable landing area is at all times.
Test flight safety depends on thorough preparation, realistic planning, and pilot judgment.
Conclusion
An aircraft test flight is a critical milestone, but it's not the beginning of your aircraft's operational life, it's the culmination of thorough preparation. Every step in this checklist, from verifying ARROW documentation to validating avionics, serves one purpose: confirming that your aircraft is safe, airworthy, and ready for the mission ahead.
The difference between a successful test flight and a costly or dangerous one often comes down to details observed during preflight preparation. Missing a single item on this aircraft test flight checklist can cascade into problems that compromise safety or delay your flight program.
If you're managing aircraft maintenance or planning a test flight in South Florida, 305 Sky offers comprehensive pre-flight inspection and test flight support. Our team brings decades of combined aviation experience to every inspection, catching issues that might otherwise go unnoticed. From pre-buy inspections to post-maintenance test flight validation, we ensure your aircraft meets the highest standards before takeoff. Get a quote for your aircraft inspection needs and fly with confidence.
Frequently Asked Questions
Q: What are the FAA requirements for a post-maintenance test flight?
A: The FAA requires that any aircraft undergoing major maintenance or repairs must complete a functional check flight to verify airworthiness before returning to service. The test pilot must confirm all systems operate within design parameters, control surfaces move freely, and the aircraft handles normally throughout its flight envelope. Documentation of all findings must be recorded in the aircraft logbook. A qualified test pilot with currency in the aircraft type is mandatory. Your maintenance facility should provide detailed procedures specific to the work performed.
Q: How do you document findings during an aircraft test flight?
A: Record all observations systematically in the aircraft logbook and maintenance records. Note the date, time, flight duration, and test pilot name. Document each system check result, control response, engine performance data, and any anomalies or squawks discovered. Use standardized terminology and be specific: instead of 'engine rough,' note 'right mag drop 85 RPM at 1700 RPM cruise.' Photograph or sketch any visible issues. This documentation creates the compliance record and informs future maintenance decisions.
Q: What is the difference between a functional check flight and a test flight?
A: A functional check flight verifies that all systems operate correctly after maintenance or repair, following manufacturer procedures in a controlled environment. A test flight is broader and may include performance validation, envelope expansion, or evaluation of design changes. Both require qualified test pilots and thorough documentation. For post-maintenance work, a functional check flight is typically required by regulation; a full test flight may be needed for major avionics upgrades or structural modifications to ensure the aircraft performs as designed.
Q: What safety protocols should be followed during an aircraft test flight?
A: Always conduct test flights with a qualified, current test pilot and a safety chase aircraft if possible. File a flight plan and maintain continuous radio contact. Perform all ground checks before departure. Expand the flight envelope gradually, testing each system incrementally rather than all at once. Have an alternate landing field within gliding distance. Wear appropriate safety gear including parachute if required. Never exceed the aircraft's design limitations. Maintain detailed records throughout. If any anomaly occurs, return to base immediately rather than continuing the test sequence.
This article was written using GrandRanker